Related Articles


The process of removing an important component of your vehicle’s cooling system is known as water pump repair. It’s one of the easiest procedures to do in terms of auto repair so almost everyone who can turn a wrench can do it on their own. How to repair a water pump is as simple as following these steps.
Step 1
Examine the functionality of the bearings by manually jostling the fan blade to make sure the water pump isn’t working. This is true for cooling systems that use fans. If the fan bearing does not need to be repaired, it should remain securely seated
Jiggle the pulley that drives the pump in the case of a motorized fan. If all is working well, the shaft should stay tight.
Step 2
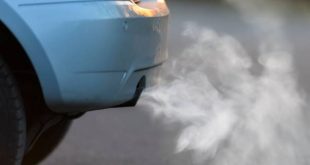
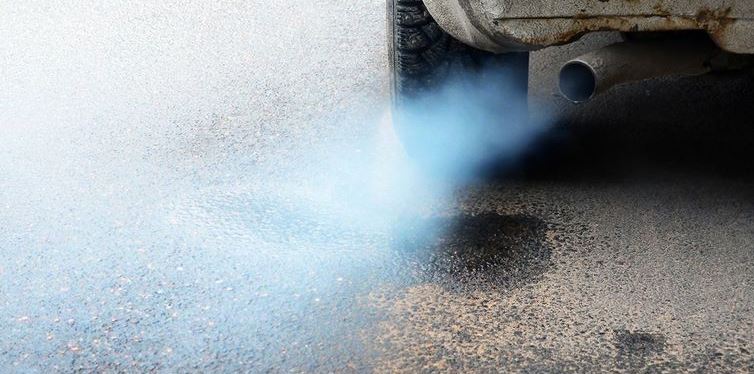
Inspect the pump casing for splotches, which signify a defective seal and are caused by an excessive amount of fluid leakage. Over time, a few drops of water should sweat from the vent opening, but a ruined seal can result in excessive overflow.
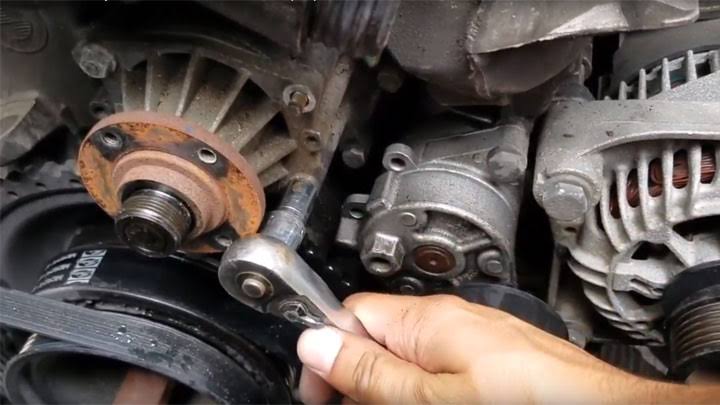
Step 3 – Procedures
- If the defective water pump has been identified, disconnect the negative battery line.
- Remove the radiator cap and disengage the valve under the front passenger’s side to drain the radiator.
- If a fan belt is present, remove it.
- Detach the radiator hoses.
- Unbolt the fan shroud, found on the water pump’s shaft.
- Remove the fan shroud. Remove the bolts from the fan and dislodge it.
- Disengage the bolts from the drive pulley and remove it.
- Dislodge the bolts from the dysfunctional water pump and remove it.
- Scrape any dirt and debris away from the area surrounding the gaskets.
- Apply industrial cleaning solution to the area and clean it thoroughly.
- Follow the water pump manufacturer’s instructions regarding sealant for the gaskets.
- Apply gasket sealant, if directed.
- Install the replacement gaskets.
- Position the replacement water pump and secure the bolts.
- Reinstall the drive pulley.
- Position the fan and the shroud and reinstall the bolts.
- Reattach the radiator hoses.
- Reinstall the fan belt, referring to the manufacturer’s belt routing diagram.
- Confirm that the radiator valve is closed and refill the radiator.
- Seal the radiator cap.
- Reconnect the negative battery cable.
- Start the car and verify that there are no irregular noises or leaks.
The video below further illustrates this in a visual manner.