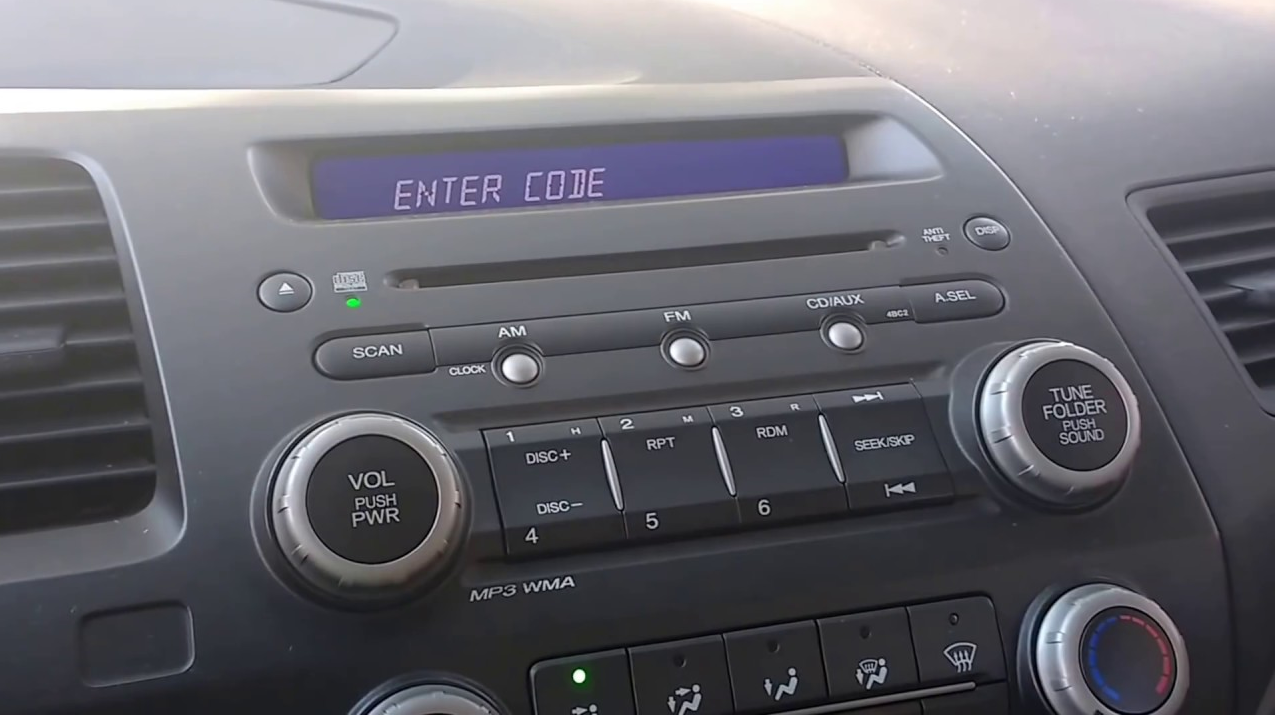
Changing a car battery is a relatively easy practice but many people aren’t aware of this, unless you have a code to unlock the radio, you can find yourself unable to use your radio. Many modern cars have an anti-theft measure which disables the radio if the power is cut until a special security code is entered. It’s common to have people who aren’t aware of what their security code is or how to enter it. This can mean a major problem trying to resolve the situation if the radio is locked. The following steps will show you how to change your battery without the power being cut to your vehicle so your radio won’t lock.
Step 1: Open your bonnet and locate the battery. In many cases the battery may be in a plastic box or padded canvas cover. Note that in some rare cases the battery may be in the boot or under a seat inside the car.
Step 2: Find a stable location where the jump-cables can easily reach the battery terminals. Now clamp the crocodile clips of the jump-cables over the leads that connect to the battery. Do not let the two crocodile clips touch each other! Ensure that you connect black to black and red to red. Also ensure that you have secured the crocodile clips to a metallic part of the leads that will not obstruct you whilst taking the leads off of the current battery. If you are using a jump-booster pack, make sure that it’s switched on.
Step 3: Look at your current battery to find out how it is being physically held in place. In many cases there will be a clamp at the base of the battery holding it to the floor-pan. In other cases there may be a clamp across the top of the battery holding it in place. Once you have worked out how the battery is being held in place, use your socket set to loosen the bolt(s) on the clamp and remove the clamp.
Step 4: Now that your battery is no longer physically held in place we need to remove the leads from the battery and remove the battery. Locate the bolts on the battery leads that are holding the clamps onto the battery terminals. Using your socket set, loosen the bolts but do not remove them. One at a time, starting with the negative lead, remove the leads from your current battery whilst ensuring that the crocodile clips from your auxiliary power source remain connected. Once the leads are free from the battery, remove the old battery from the vehicle. Your auxiliary power source is now supplying the power to your car until we connect the new battery.
Step 5: Without knocking the leads currently being supplied by the auxiliary power source, lower your new battery into place. Now connect the leads onto the new battery – ensuring that you first connect the red to the positive terminal and then the black to the negative terminal. Be careful that you don’t knock the crocodile clips off the leads as you maneuver them onto the new battery. Now tighten the bolts on the clamps to hold them firmly in place. You can now safely remove your auxiliary power source by disconnecting the crocodile clips.
Step 6: Put the clamp back in place and tighten the bolt(s) that hold it in place.
Step 7: Fire up the car to ensure that the new battery has been successfully fitted. Now try the radio. If you have followed this guide correctly, the power to your radio will not have been cut and your radio will not require programming with the radio code.
Below is a video that also illustrates this procedure
 Spot Dem Everything About Cars


